How to integrate Razorpay with 1CloudAI CRM


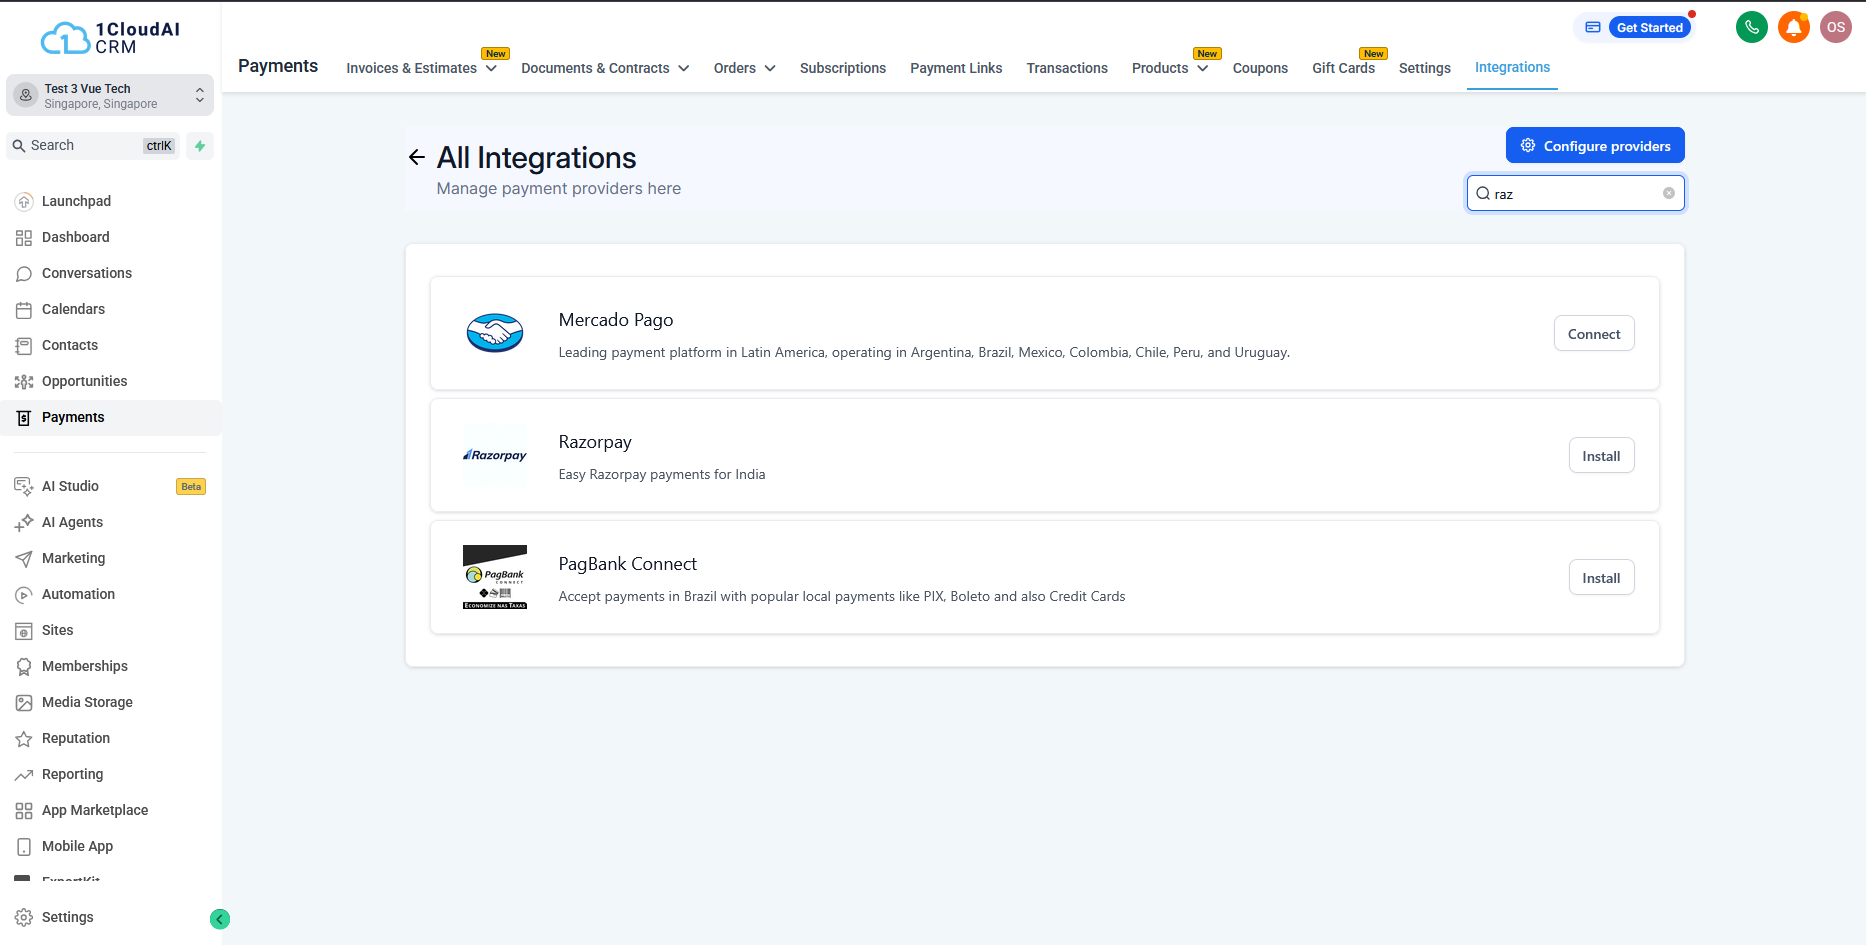
Business users are able to process payments via Razorpay, a payment provider popular in India. This integration is available as a marketplace application under the App Marketplace menu inside a sub-account and is also available upon clicking on the Search for More options inside Payments -> Integrations.
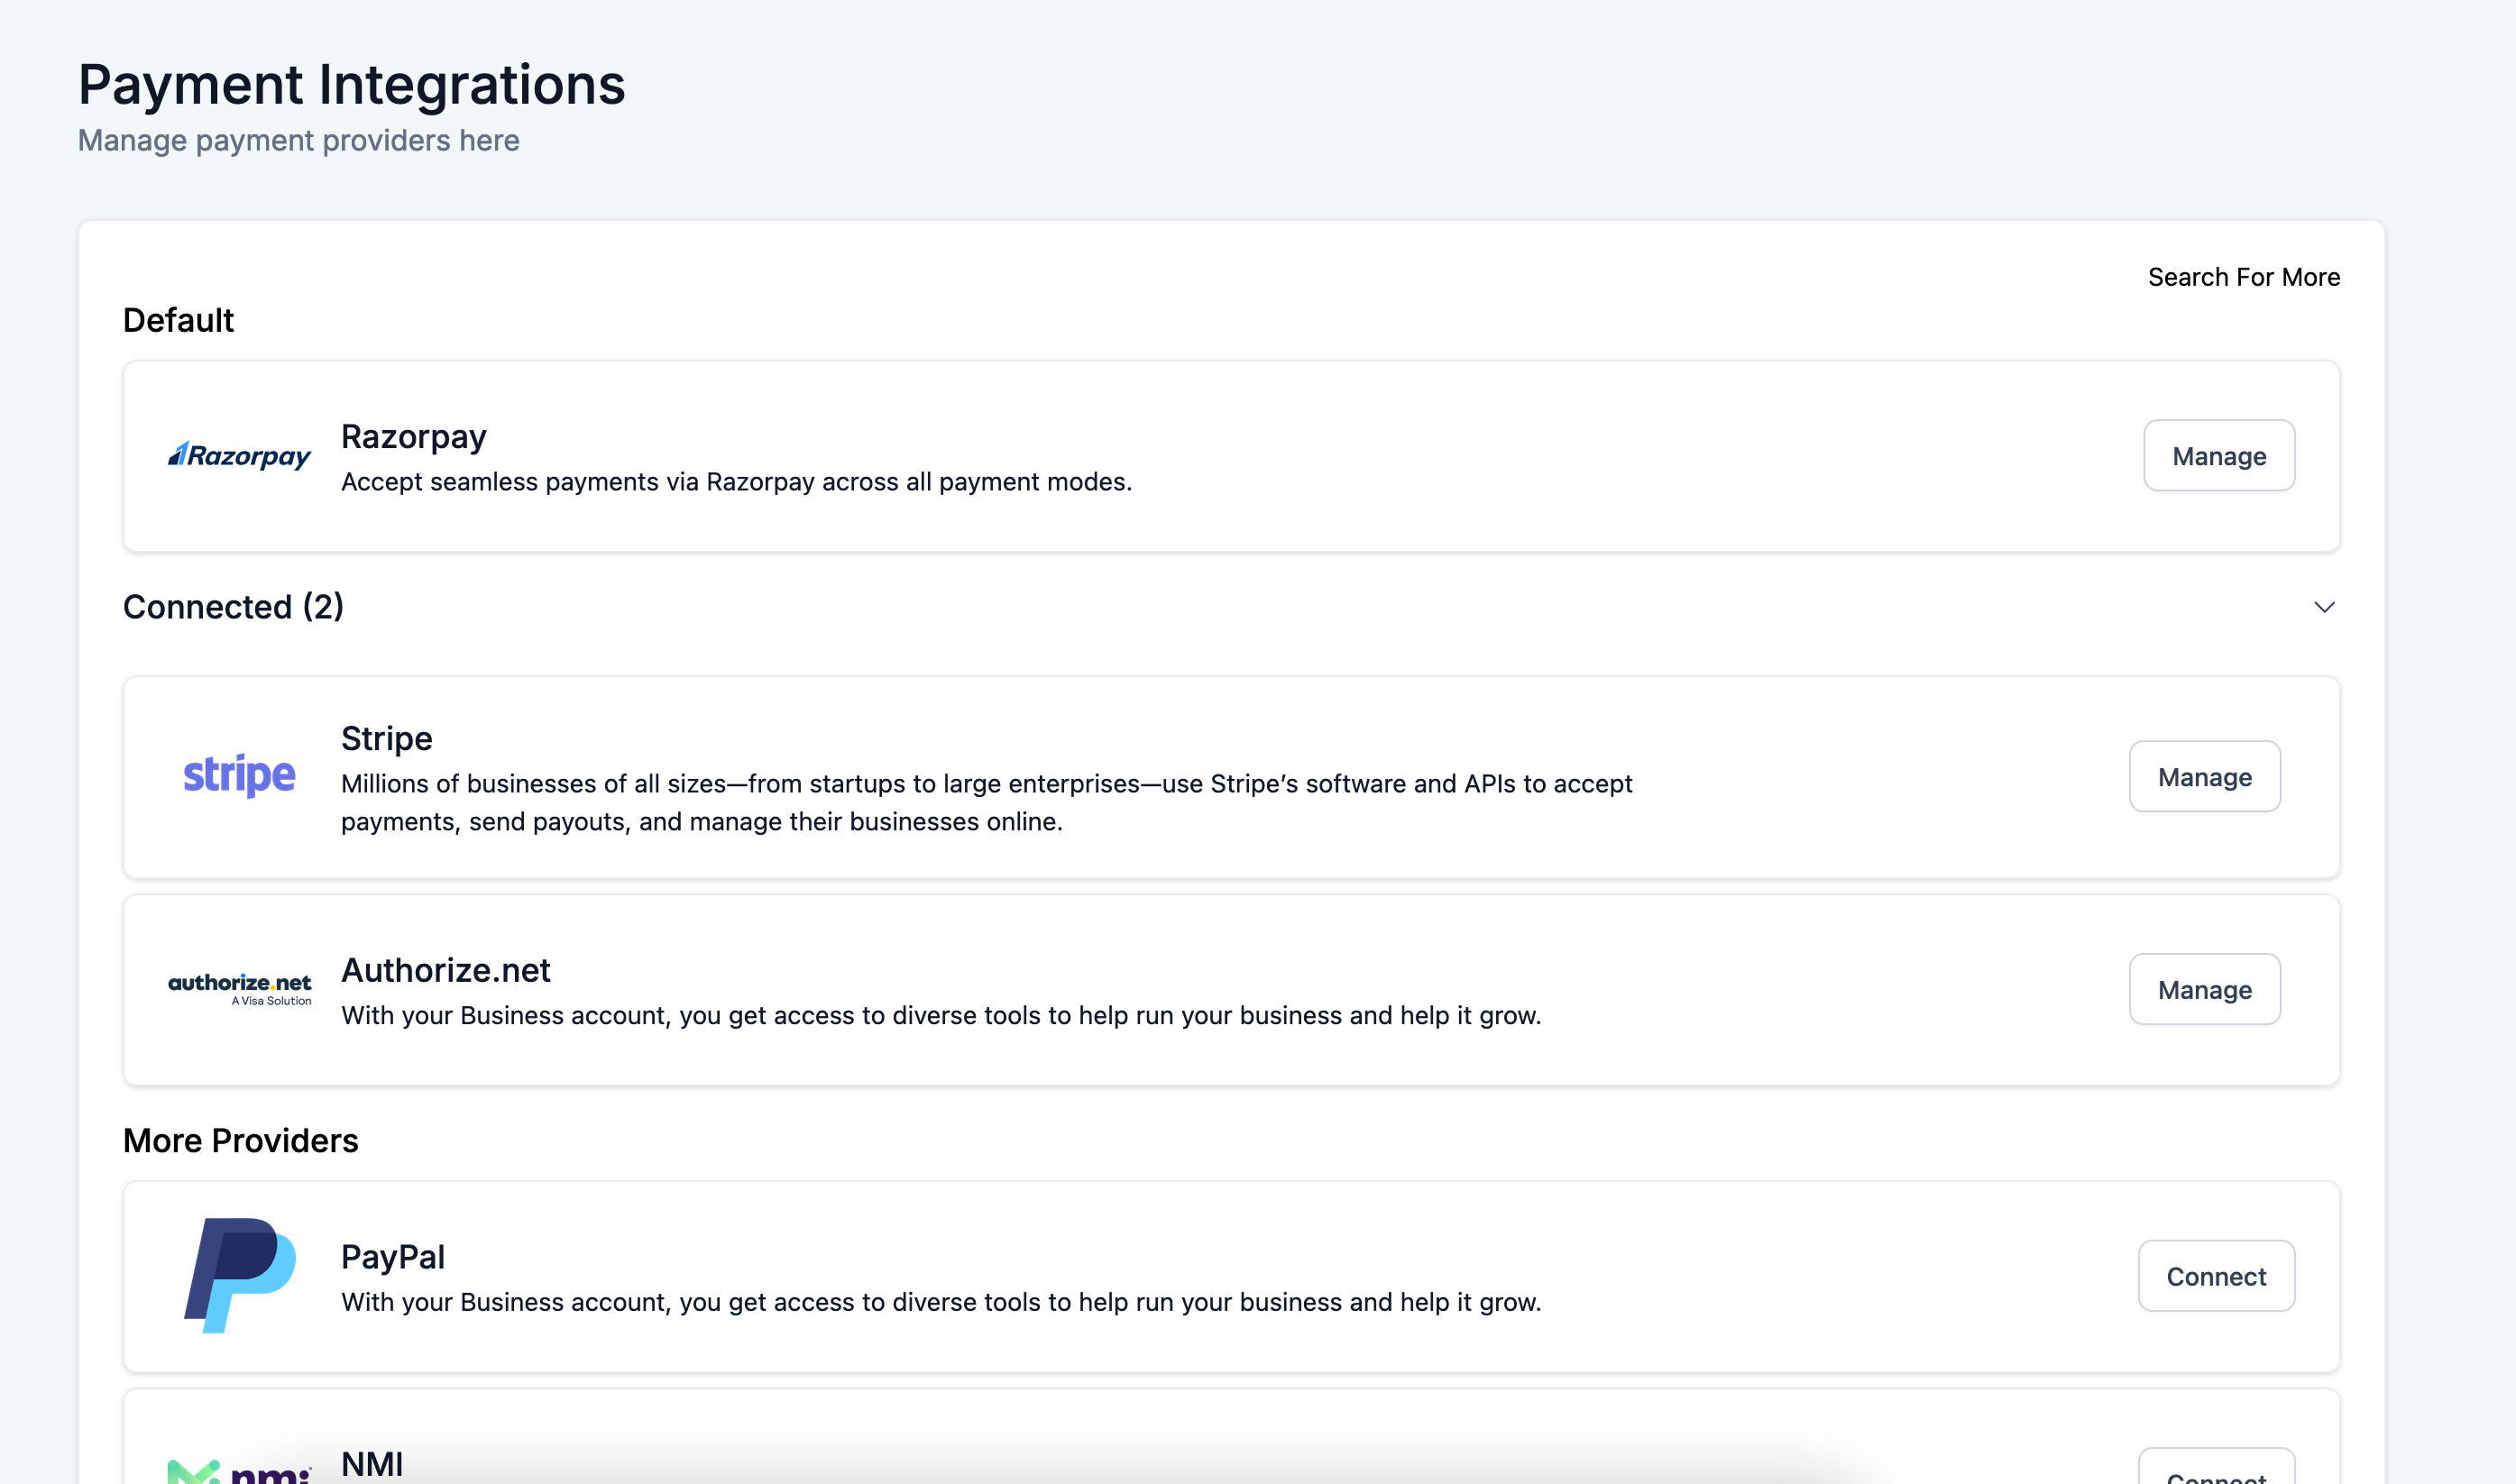
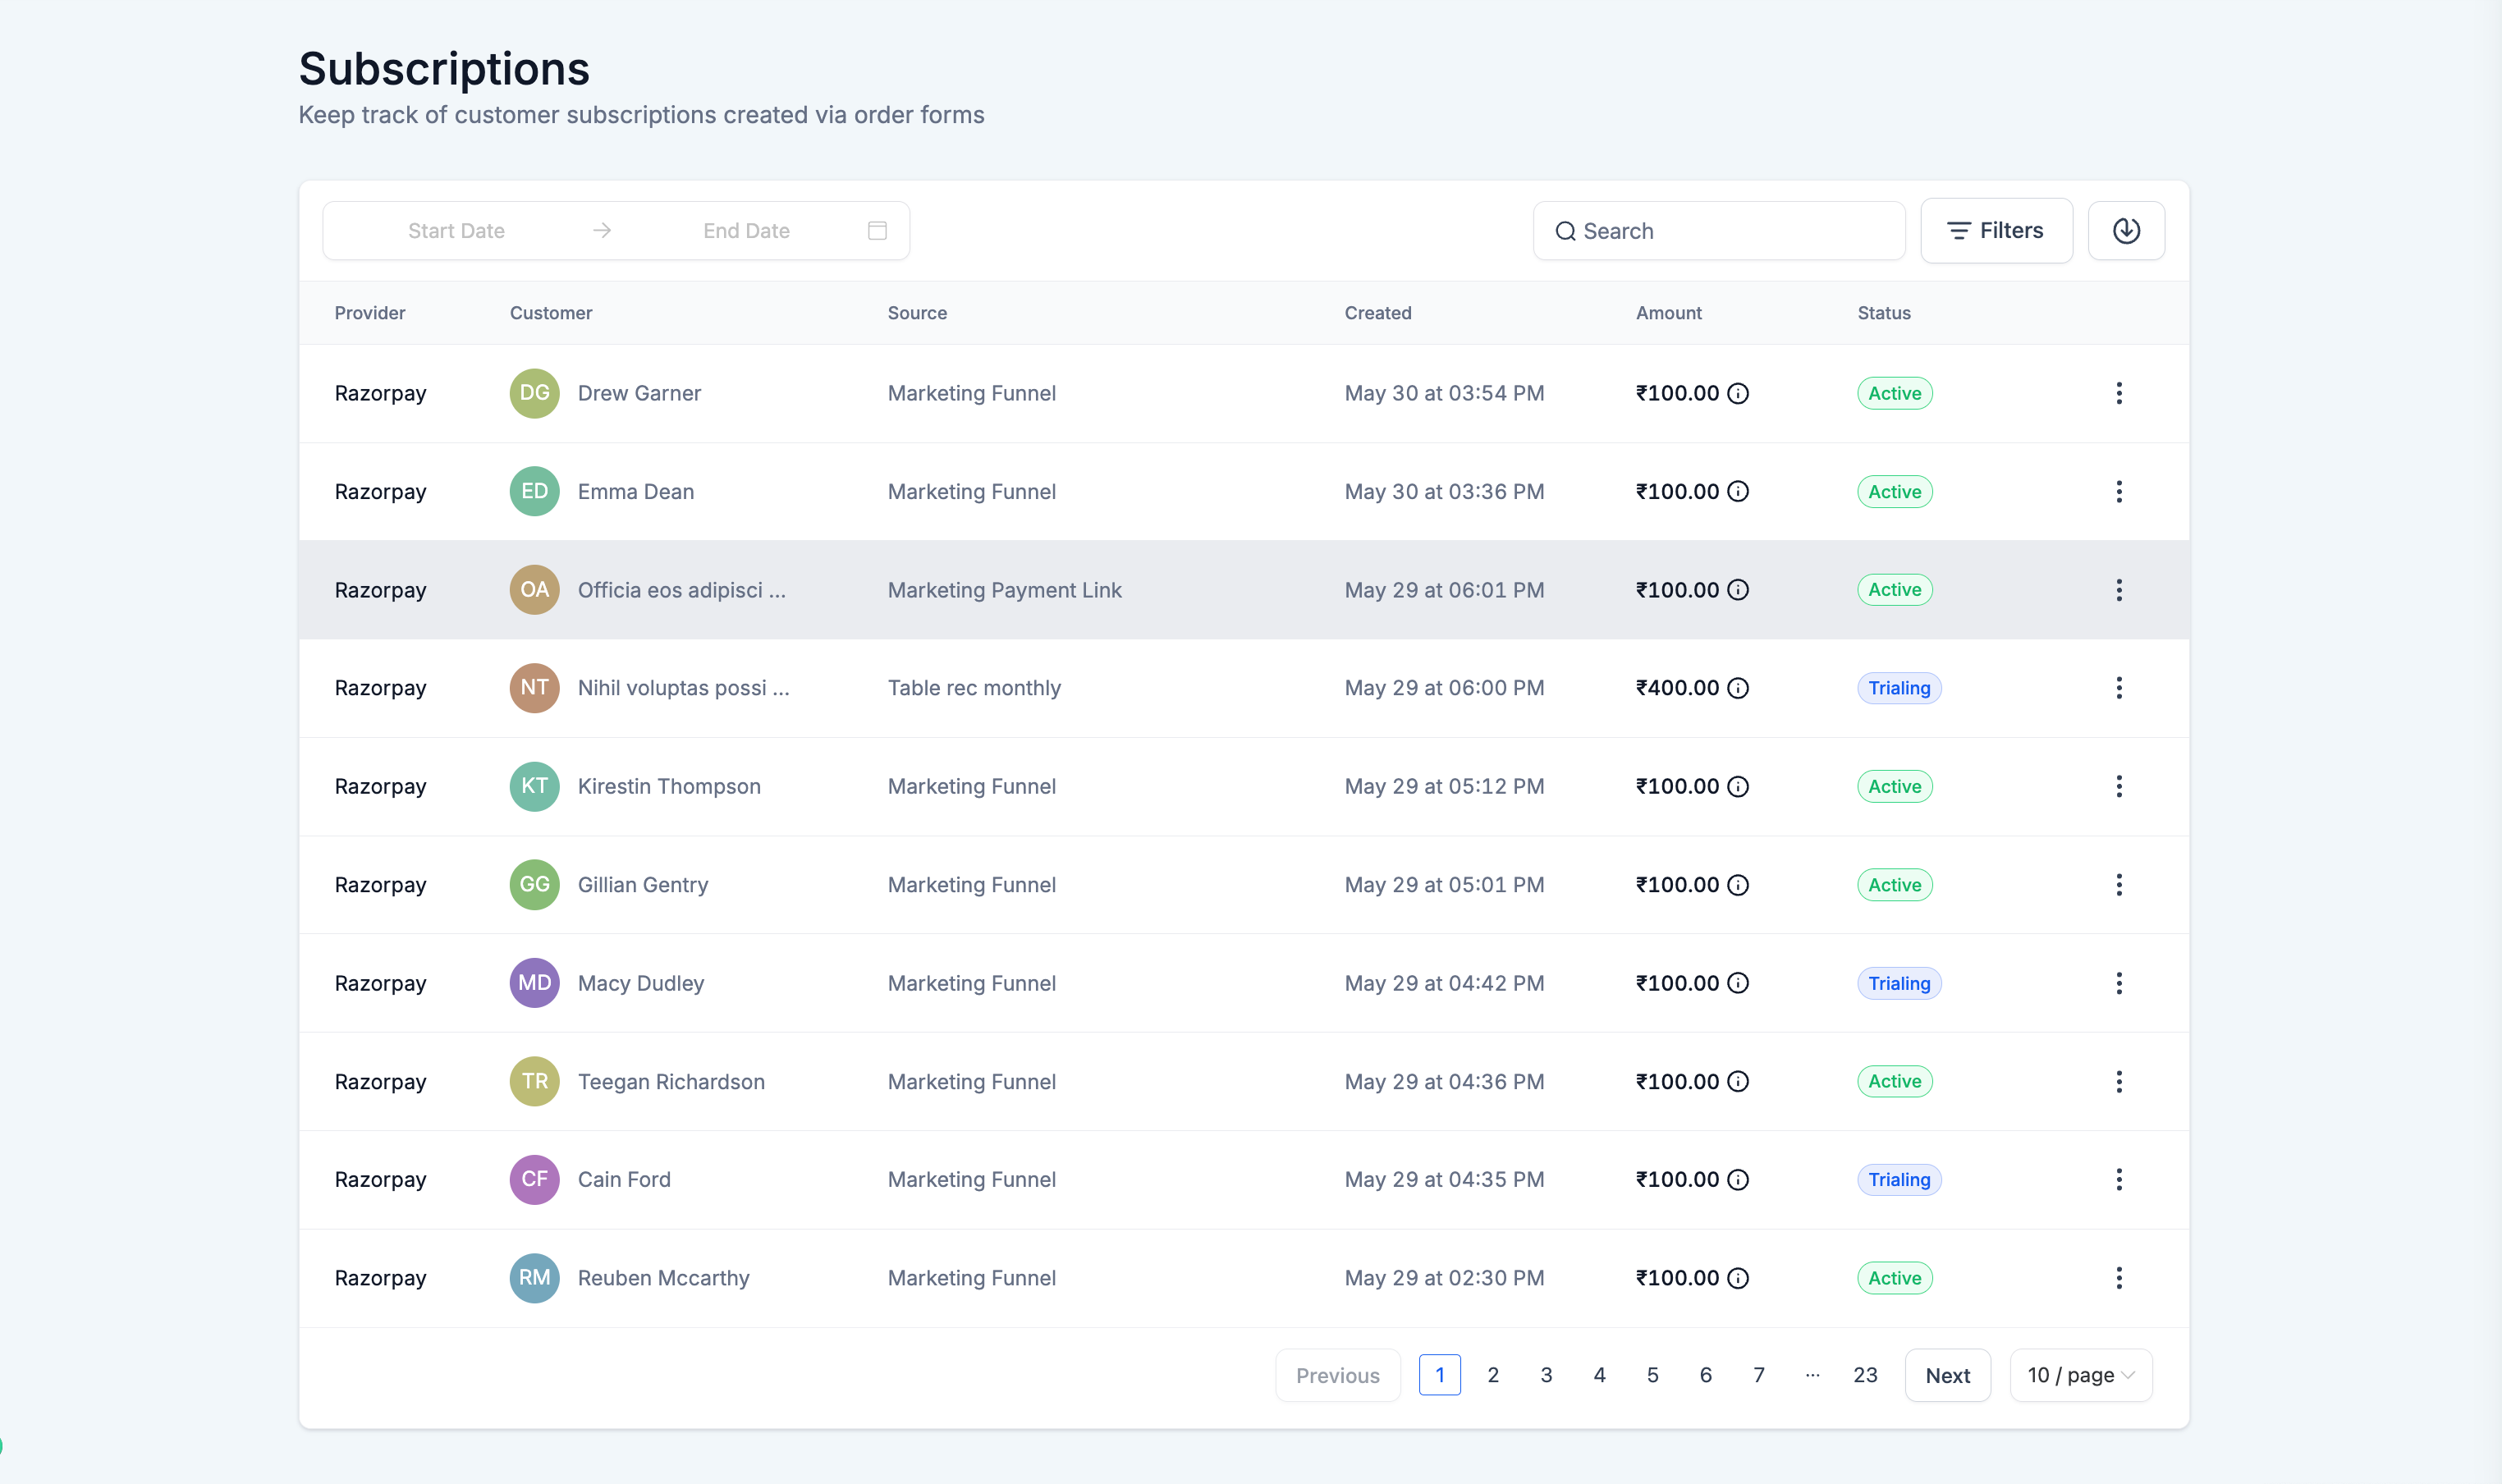
The integration provides capabilities to accept one-time, custom amounts as well as recurring payments across all channels like order forms, invoices, payment links, forms, and contacts pages among others. This also provides subscription management like cancellation, updating a card on file, or refund-related capabilities.
Sub-account users will be able to install the application from the App Marketplace, authenticate using the necessary API keys, and grant necessary permissions to start accepting payments using Razorpay.
To successfully connect Razorpay with your system, please follow these four essential steps:
Install the Razorpay App
Navigate to the App Marketplace and install the Razorpay application.
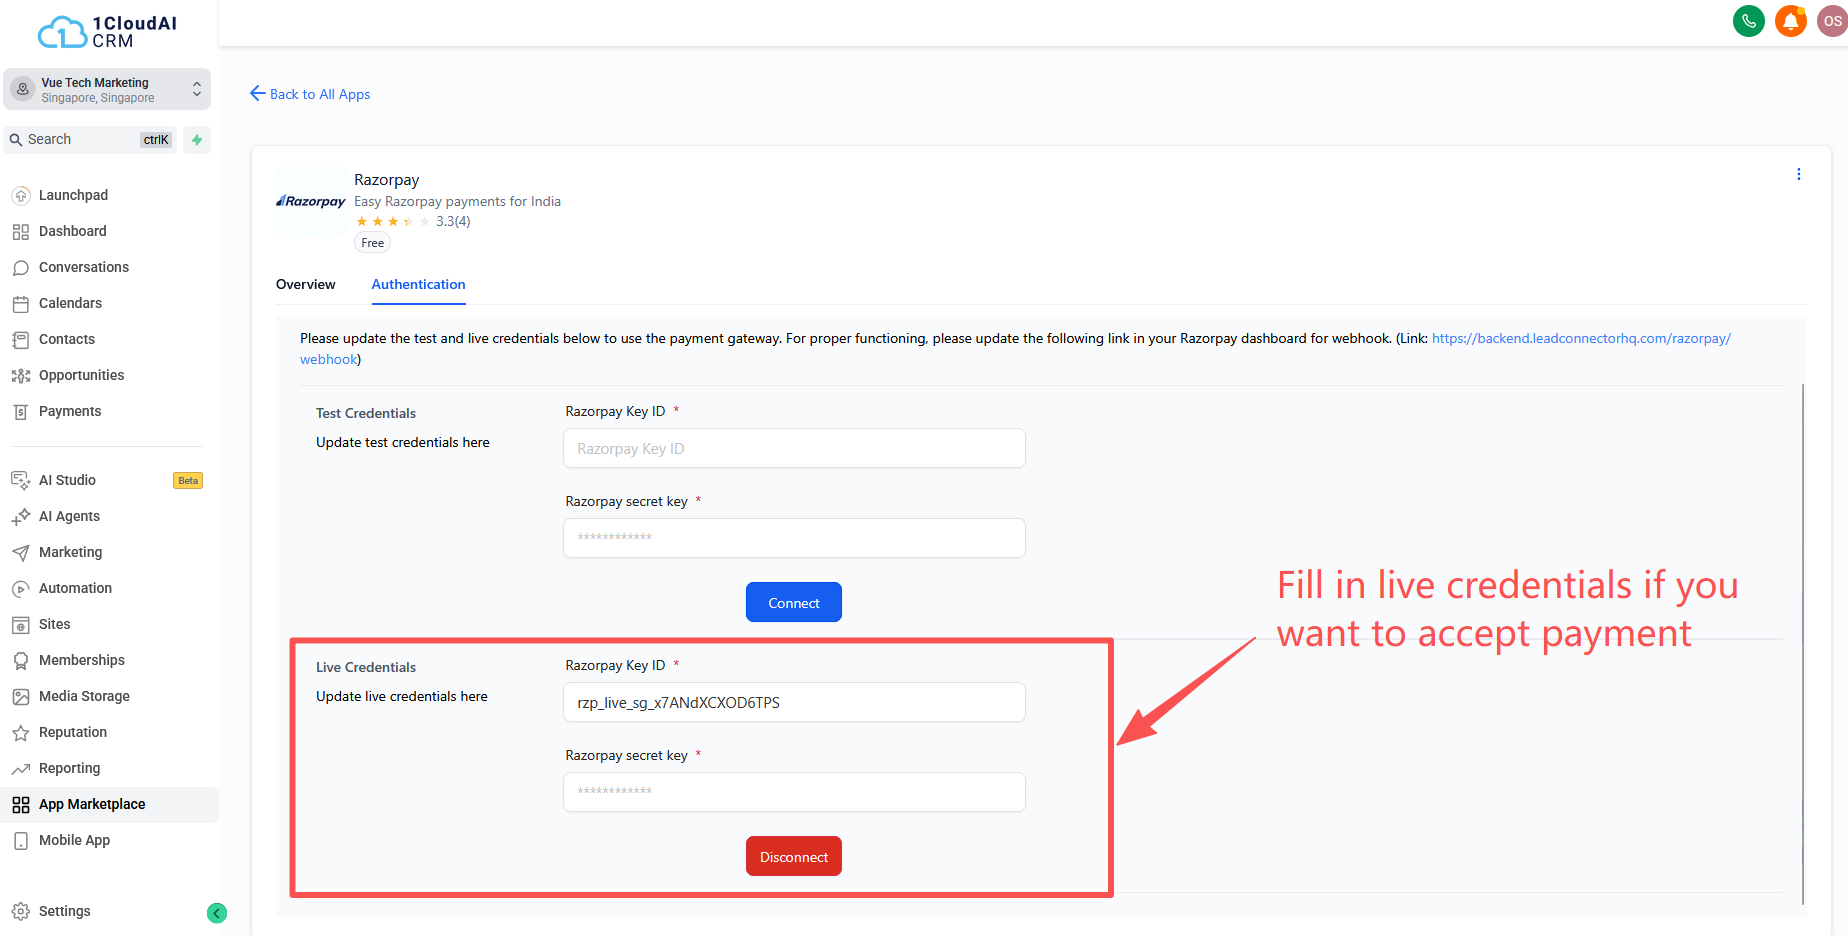
Authenticate Using API Keys
Copy your Razorpay API keys from the Razorpay dashboard (
Accounts & Settings → API Keys) and paste them into the app authentication page.Configure Webhooks
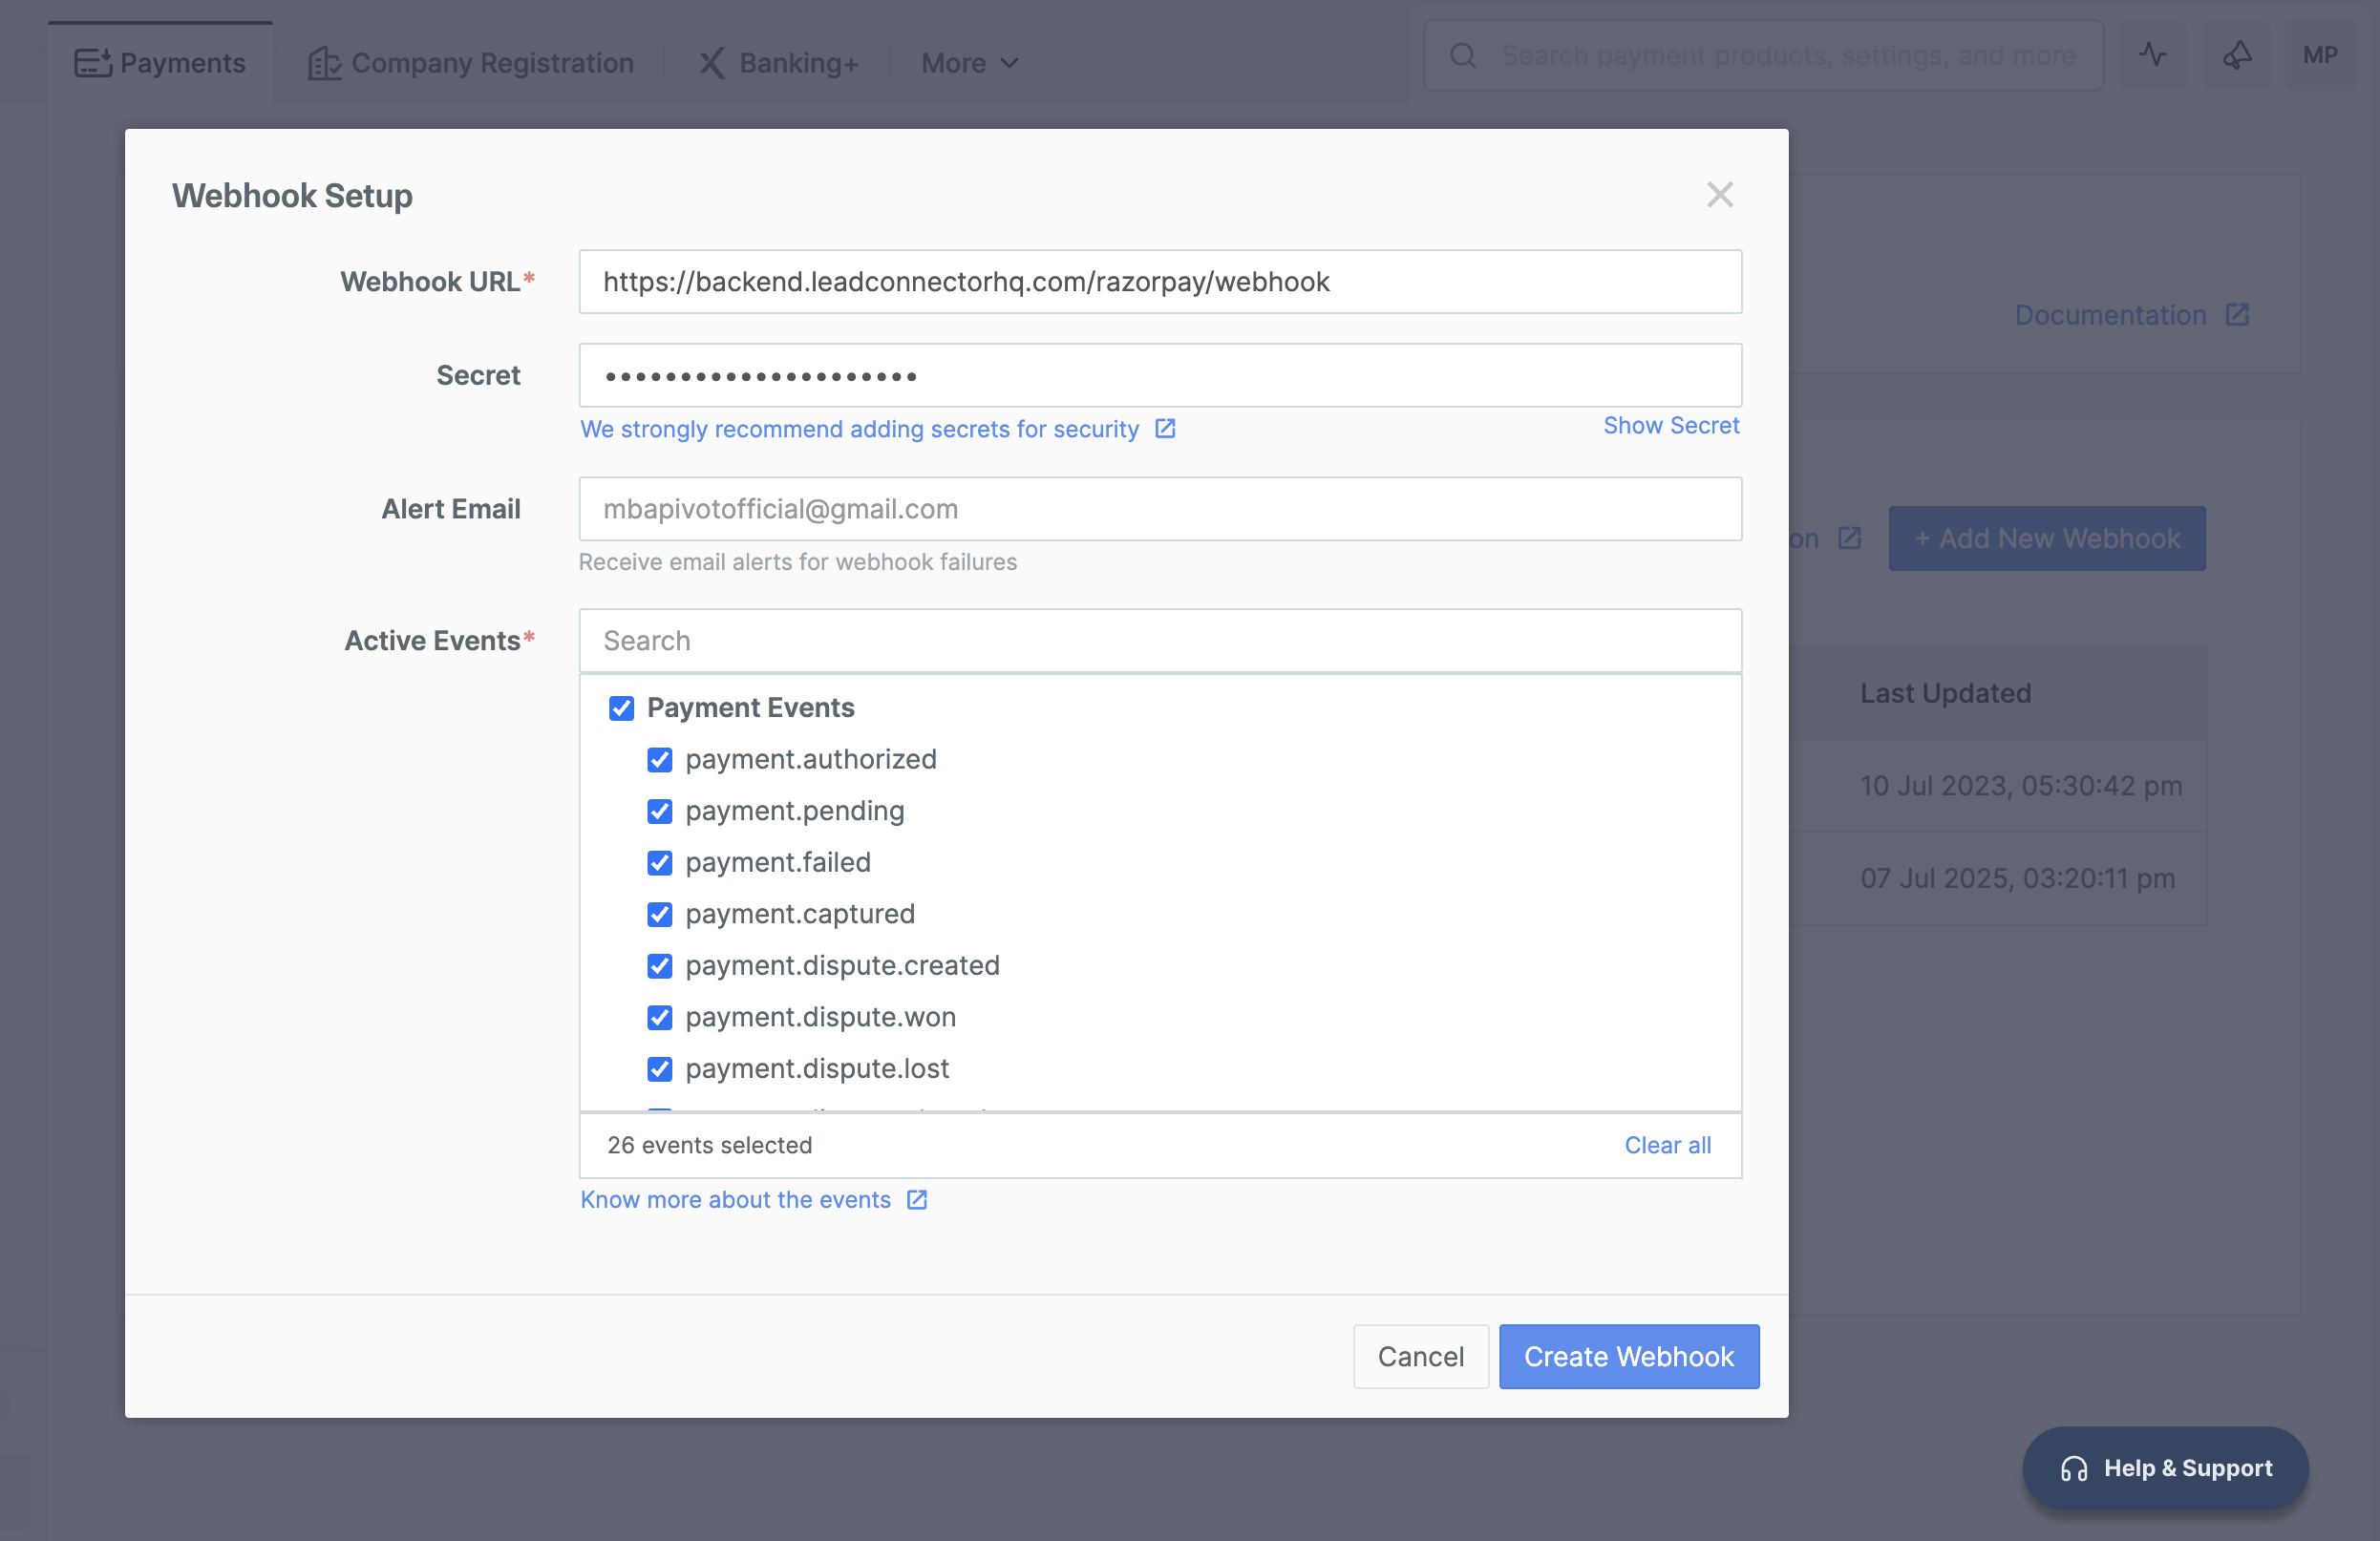
In your Razorpay dashboard (
Accounts & Settings → Webhooks), add the following Webhook URL:https://backend.leadconnectorhq.com/razorpay/webhookBe sure to enable all payment-related events for proper syncing.
Register and Whitelist Your Domain
- In your 1CloudAI CRM dashboard, go to
Settings → Business Profile → Branded Domainand register the domain you're using. Make sure to verify and click on update information. - Next, log in to your Razorpay dashboard and go to
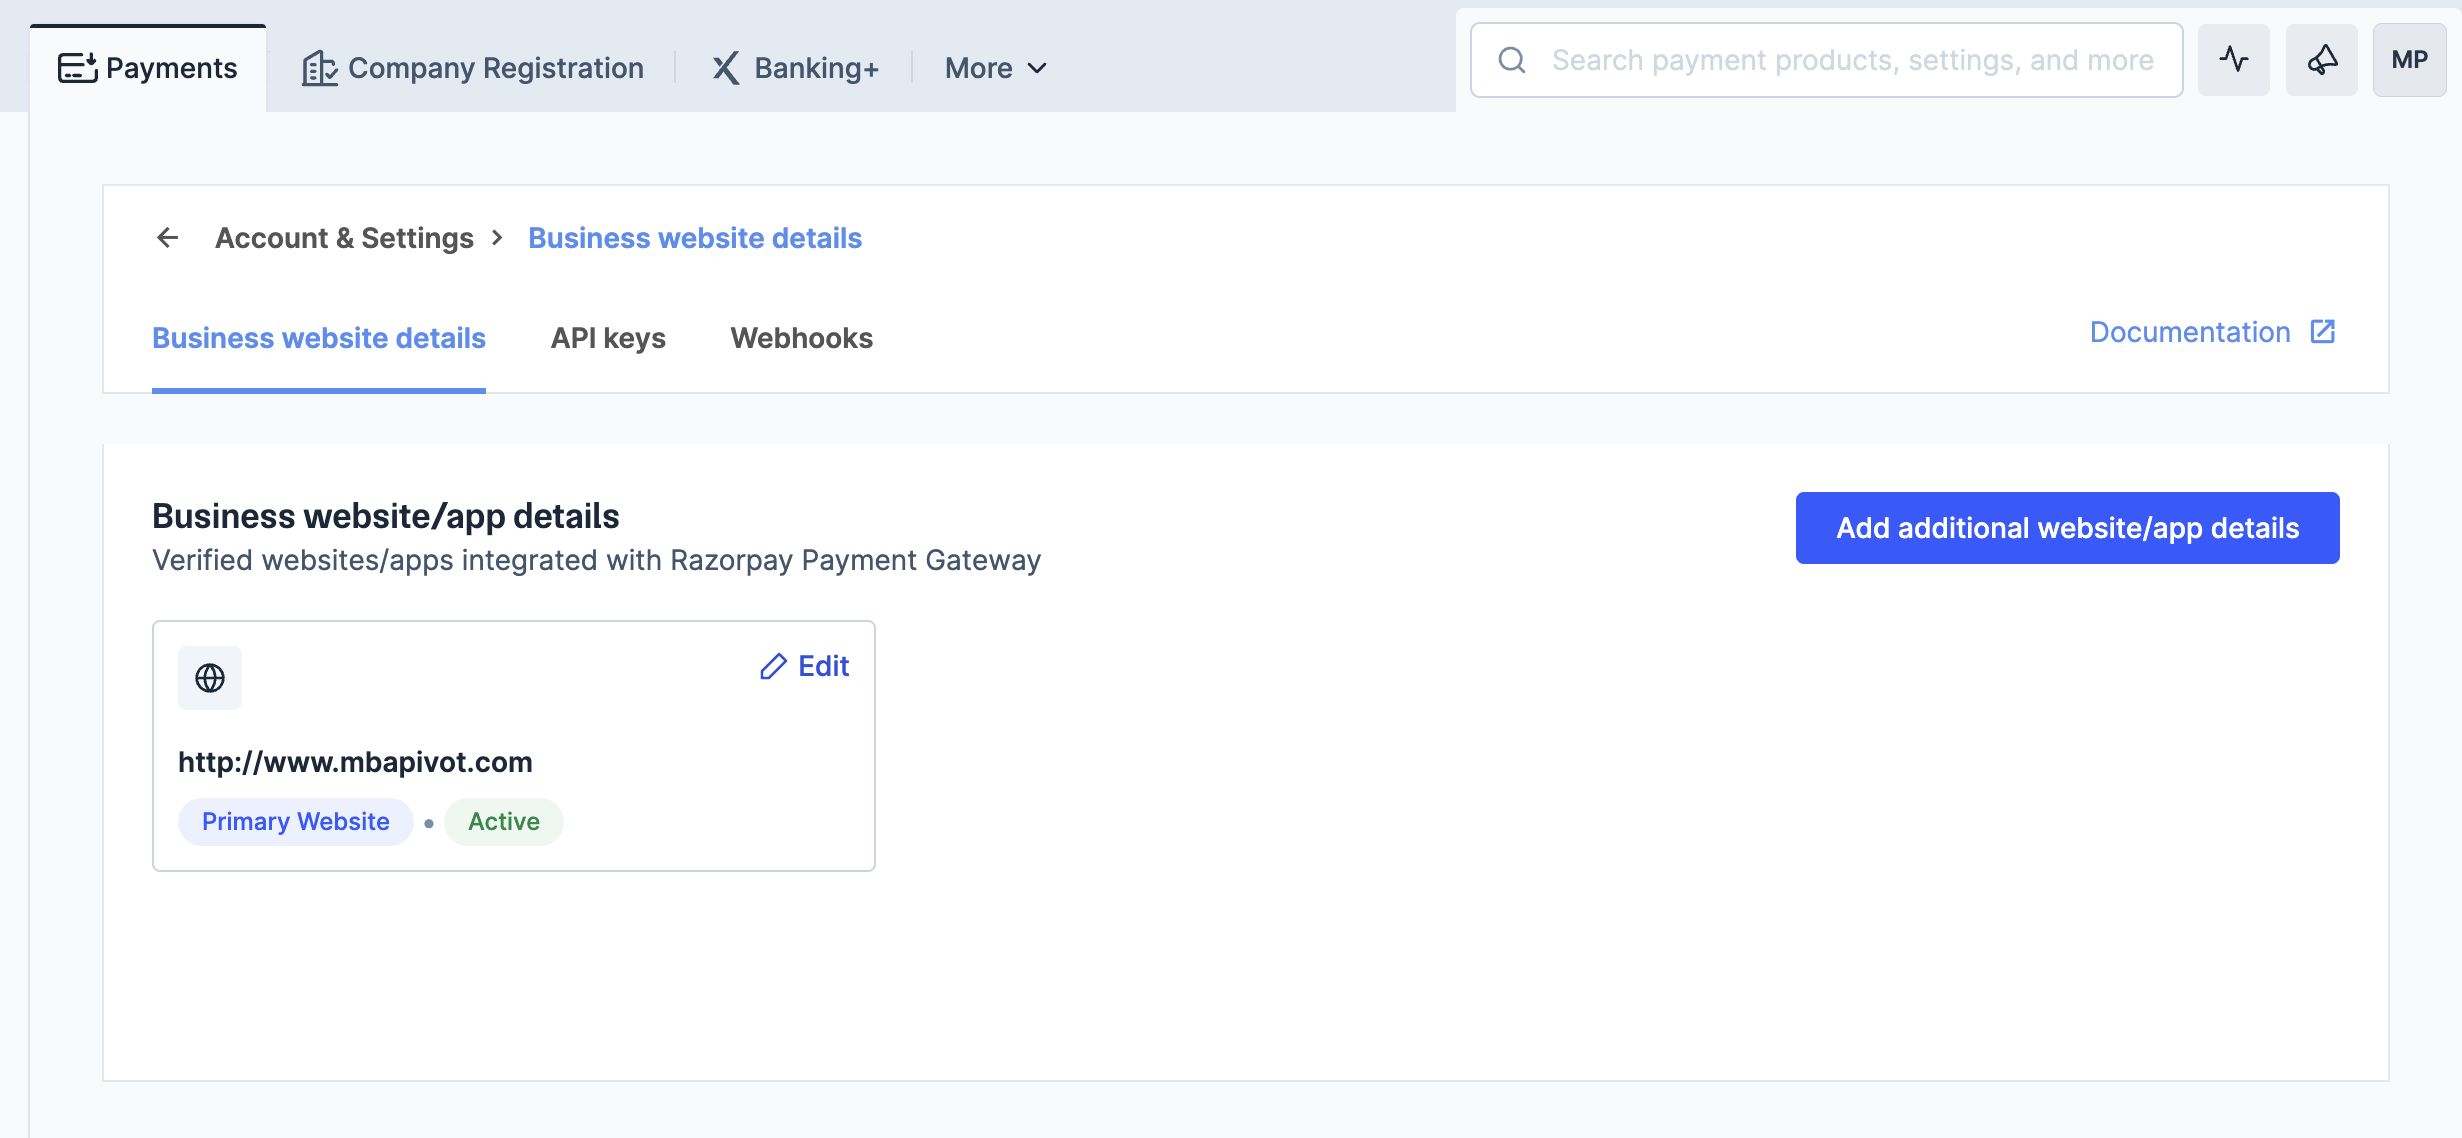
Accounts & Settings → Business Website Details → Add Additional Website/App Details. Add the same branded domain here. Razorpay will verify and enable it.
Note: Razorpay only allows payment acceptance from domains that have been whitelisted on their dashboard.
- In your 1CloudAI CRM dashboard, go to
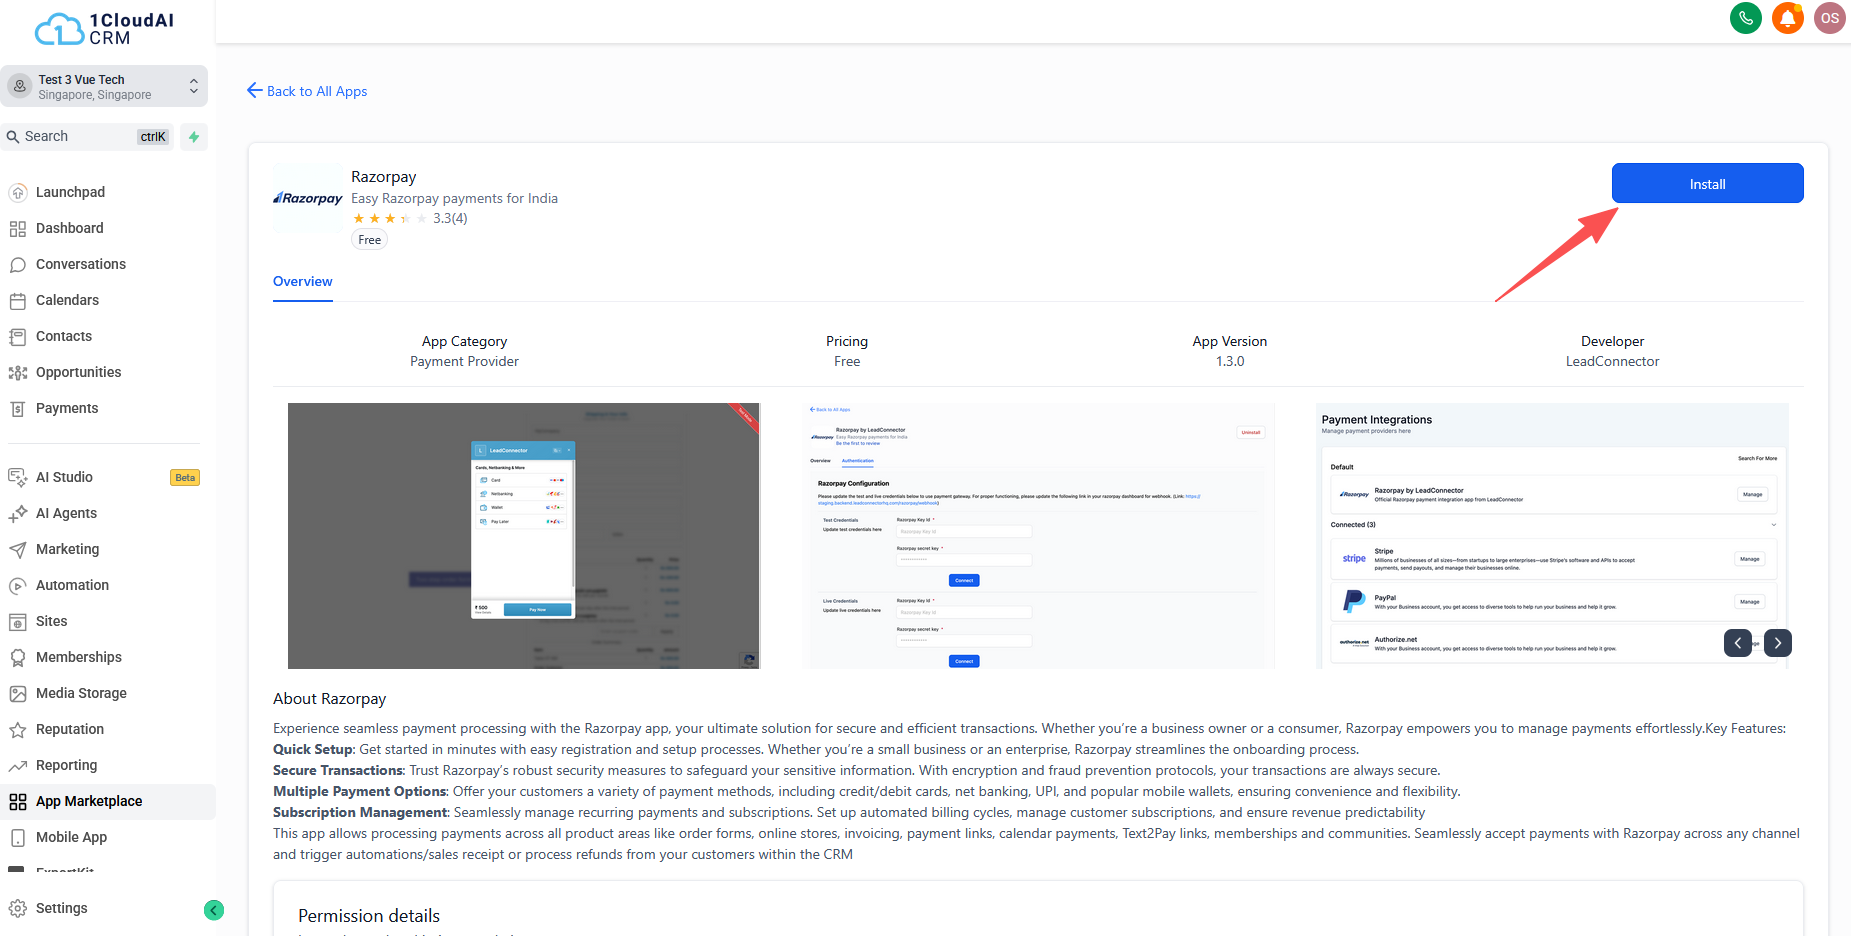
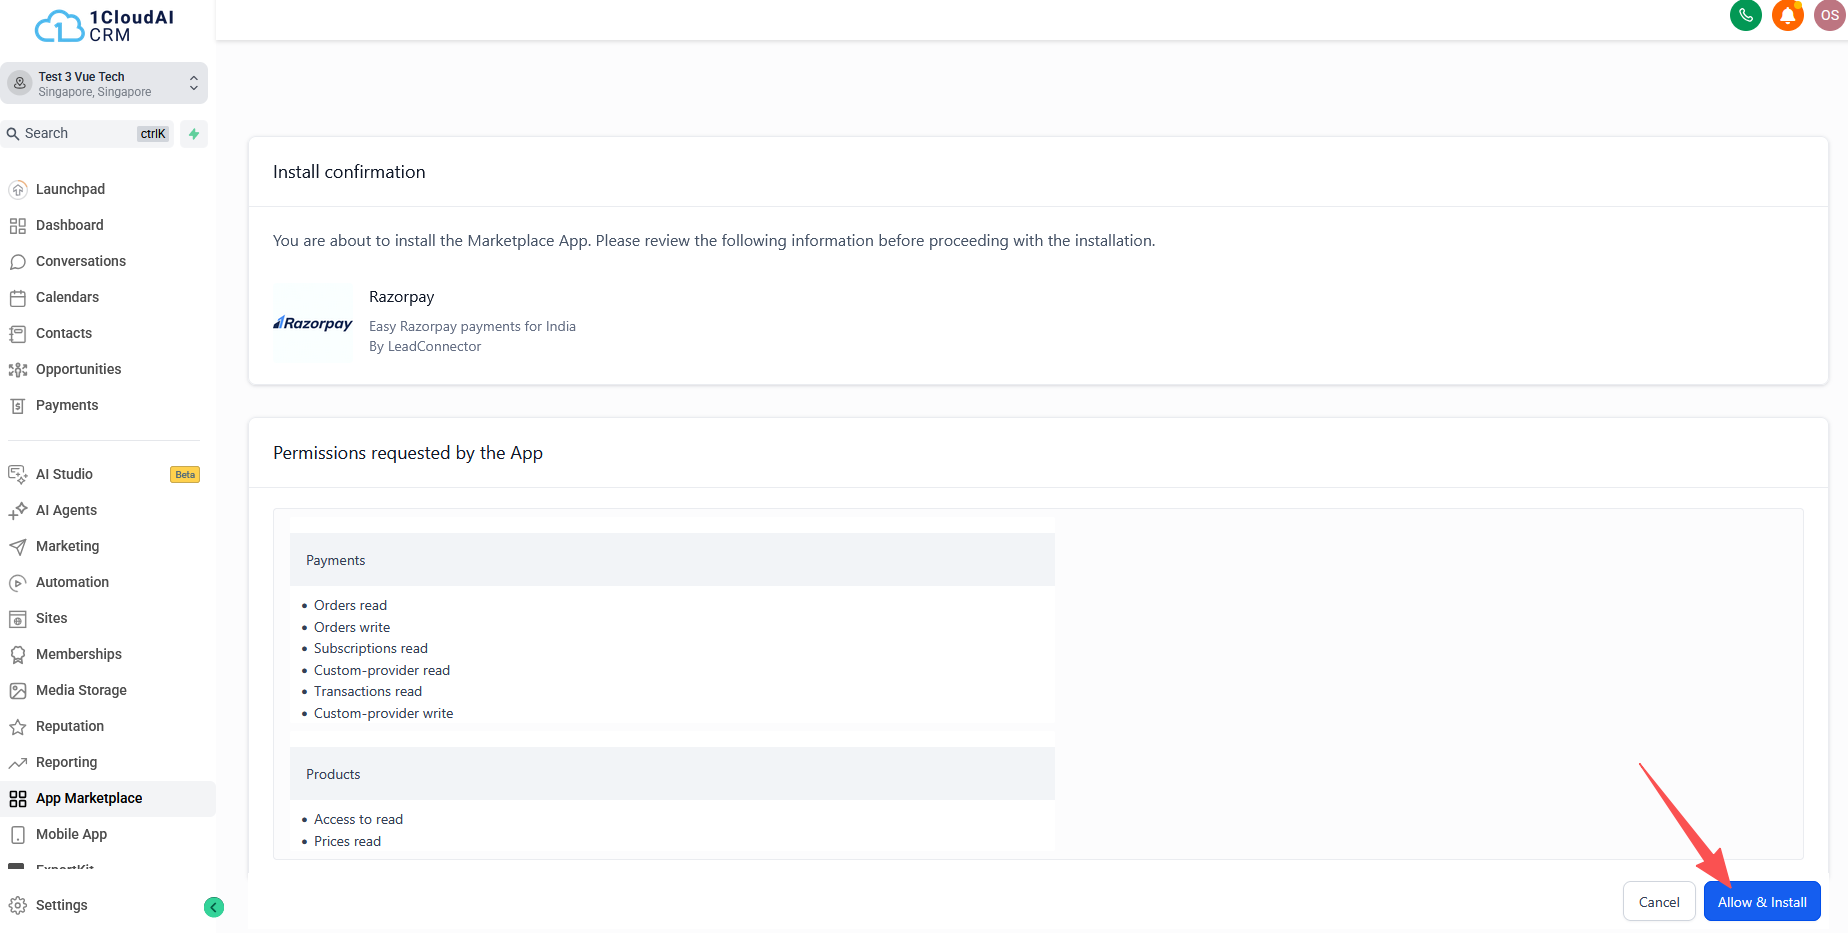
Once the app is installed, the Authentication page would be displayed which would require you to plug in your API keys from the Razorpay dashboard. Navigate to Accounts & Settings -> API keys to get the API keys from your Razorpay dashboard.
For smooth functioning of the integration in fetching the transaction statuses from Razorpay, it is required that you also paste the given link in your Razorpay dashboard under Webhooks (Accounts & Settings -> Webhooks). Make sure that you select the following webhook events to not lose out on any feature:
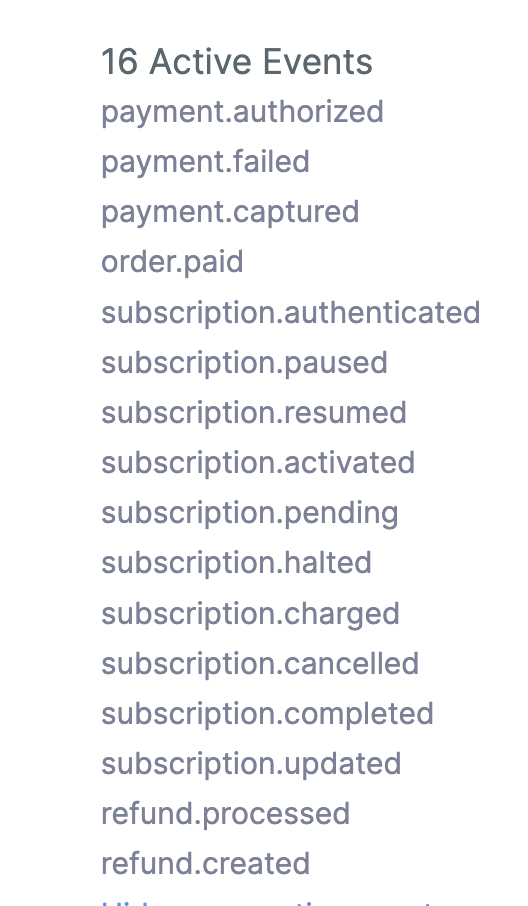
Also, add any branded domain that you are using inside the Razorpay dashboard (Accounts & Settings -> Business website details).
The application would in no way differ from the existing payment integrations like Stripe/NMI/Authorize.net and would have full capabilities for payments including post-purchase automations like automated sales receipts, refunds, payment received and order submitted triggers, or giving discounts via coupon codes.
FAQs
Q - I have done the integration, but while accepting payment I am getting an email from Razorpay saying - payment attempted on your merchant ID - XXXX from web domain - link.fastpaydirect.com has failed as it is not registered. Please contact risk-notification@razorpay.com for more details.
A: This error occurs because Razorpay restricts payment processing from unregistered or unverified domains. Each merchant ID on Razorpay must be mapped to a whitelisted domain as part of their website compliance policy.
By default, 1CloudAI CRM uses link.fastpaydirect.com as its branded domain, which is whitelisted only for 1CloudAI CRM's own merchant account. It will not work with your Razorpay keys.
To resolve this, you need to register your own branded domain in 1CloudAI CRM (as in step 4). Once your domain is connected, Razorpay recognizes it as part of your whitelisted setup, and payments will process successfully.
Q - Will this Razorpay Integration also work for SaaS mode and Wallet recharges?
A: Although we support SaaS mode and Wallet recharges with Custom Payment Provider (one type if Razorpay) with specific to Razorpay, it will not work. This is because Razorpay doesn't support off-session charging on saved cards via our Integration. Only fixed-duration Subscriptions are supported.